

How to check out a key
In short: Checking out a key records who has taken a key set and when it’s due back. You can do it three ways: on the Hive (the kiosk app), on the mobile app, or in the web portal. On the Hive and mobile app you scan the fob and follow the on-screen steps; in the portal you open the key set and fill in a short form.
When you’d do this: Any time a key set leaves in someone’s care, whether that’s a colleague taking a set out, someone collecting keys for a job, or handing keys to a visitor.
Before you start
You can only check out a key set that’s ready to go. It must:
- have a fob assigned, and
- not already be checked out to someone else.
If a key set has no fob it shows as untagged: assign a fob first and it’ll be ready to check out.
On the Hive
The Hive is the quickest way to hand keys over in person.
-
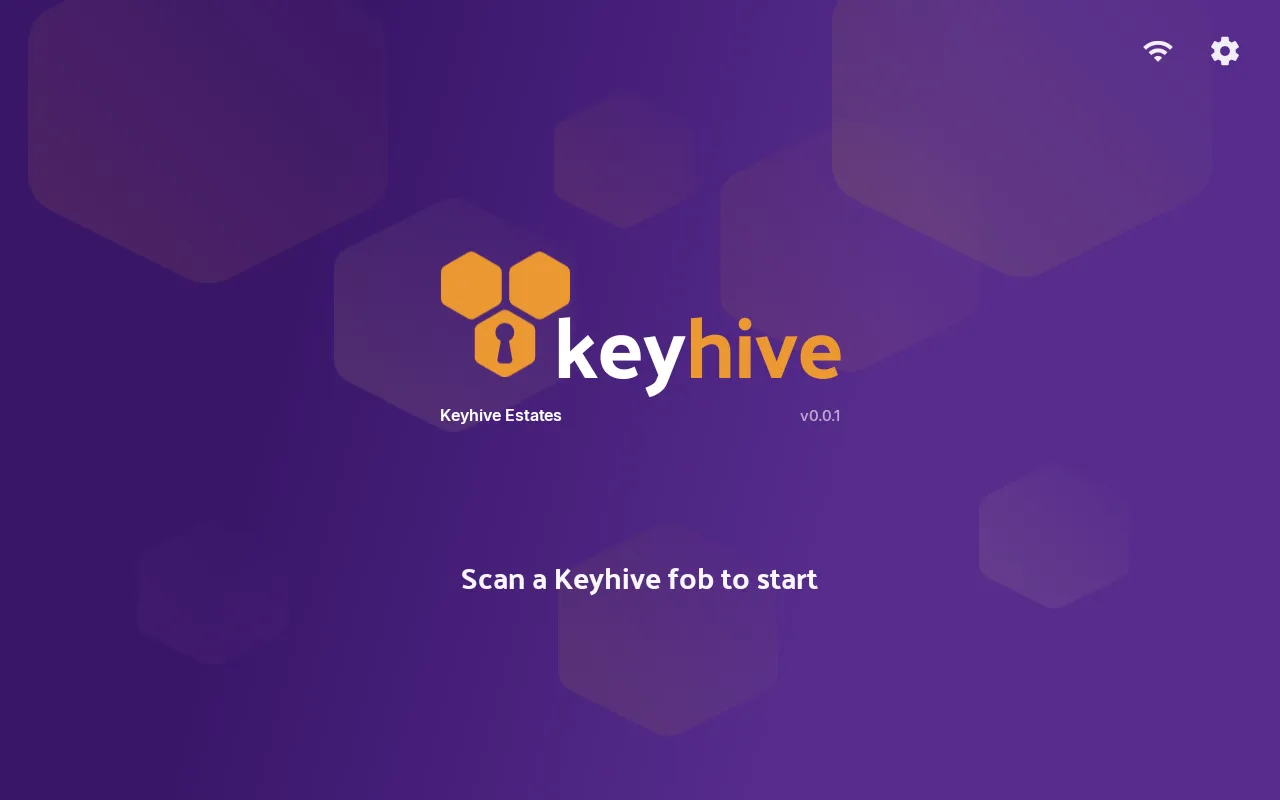
Tap the fob to start. From the home screen (“Scan a Keyhive fob to start”), tap the key set’s fob on the reader, the stickered spot on the unit. You can tap more than one fob to hand over several key sets together; see How to check out multiple keys.
-
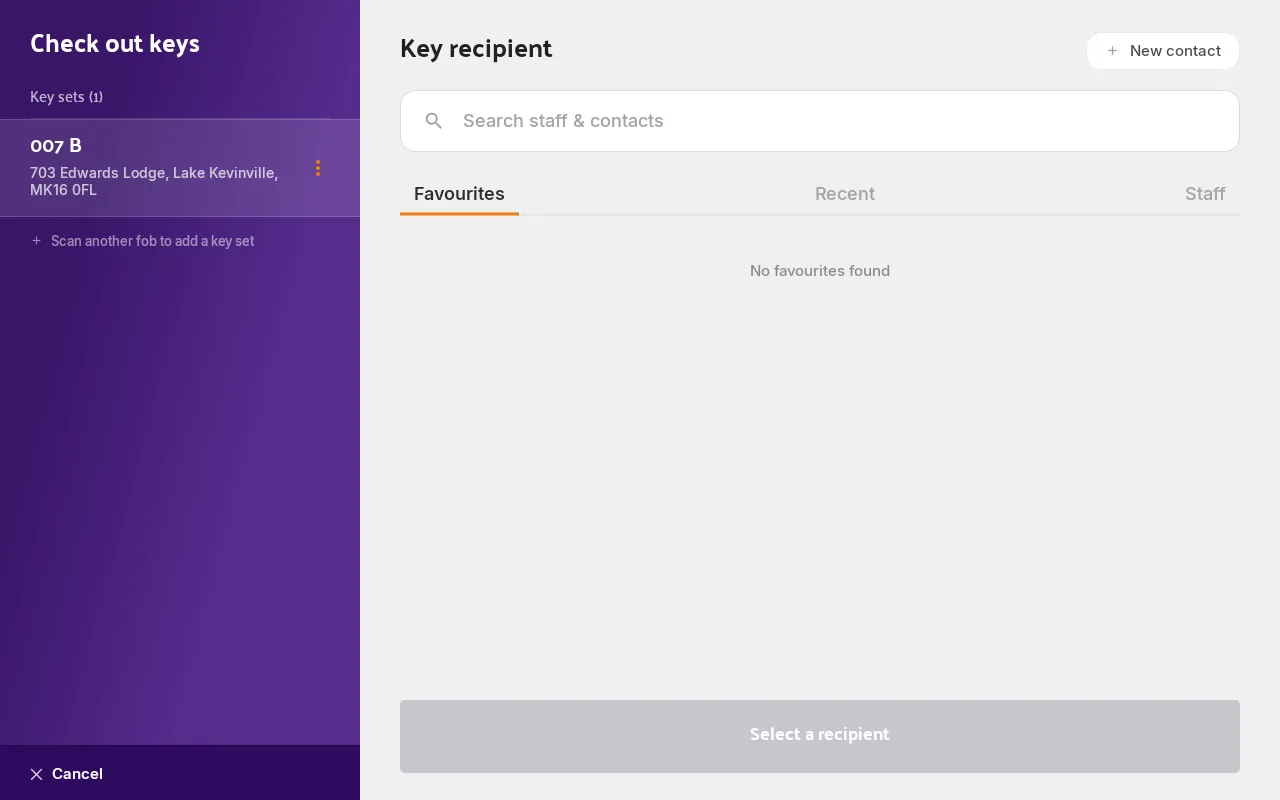
Choose the key recipient. Pick who’s taking the keys from the Favourites, Recent or Staff tabs, or use Search staff & contacts. If the person isn’t in Keyhive yet, tap + New contact to add them and they’ll become the recipient. Tap Next.
The panel on the left tracks your progress and lists the key sets you’ve scanned, a quick check you’ve got the right ones (and a Scan another fob to add a key set option if you haven’t).
-
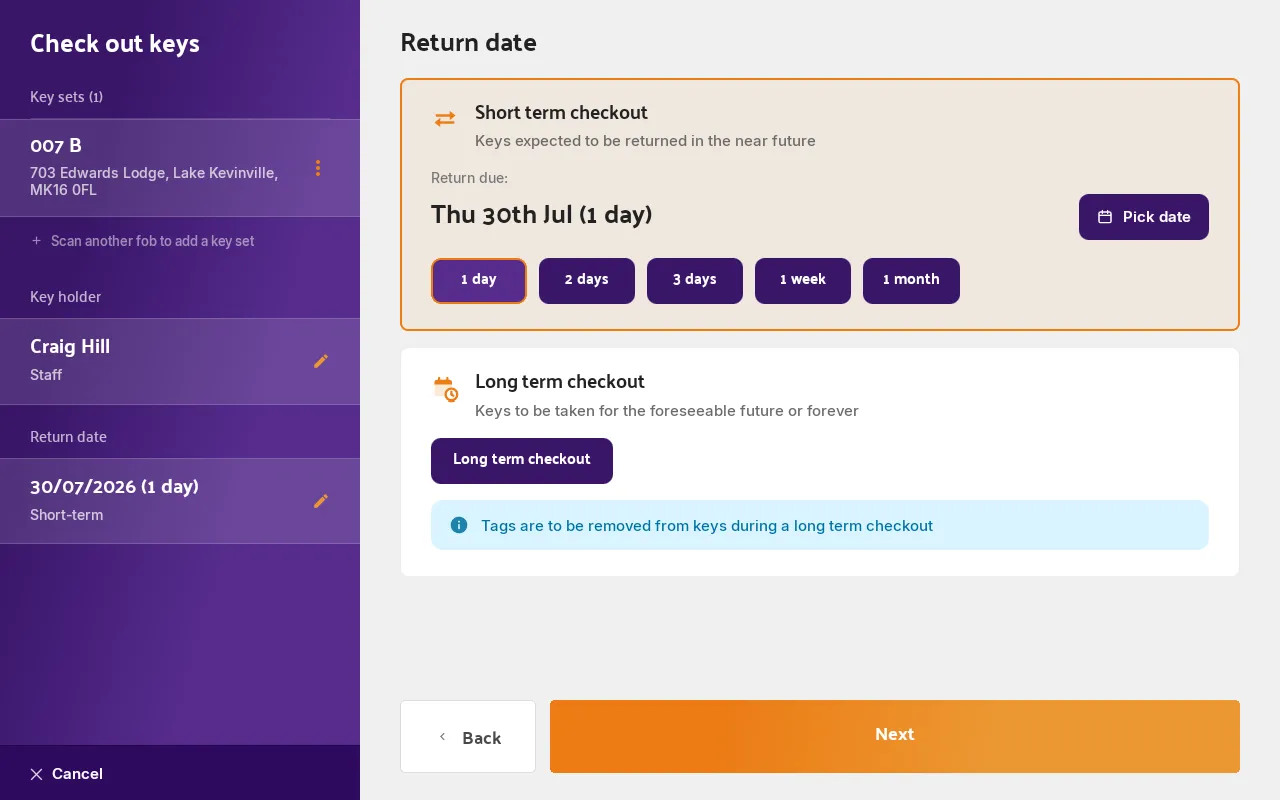
Set the return date. Choose how long the keys are out for:
- Short term checkout: pick a preset (1, 2 or 3 days, 1 week, 1 month) or tap Pick date for an exact day. This defaults to your default checkout length for that kind of recipient (staff or contact), so often you can just tap Next.
- Long term checkout: for keys taken for the foreseeable future, with no return date. Note: the fob is removed for a long-term checkout, so you return the key set later by assigning it a fob again (see below).
-
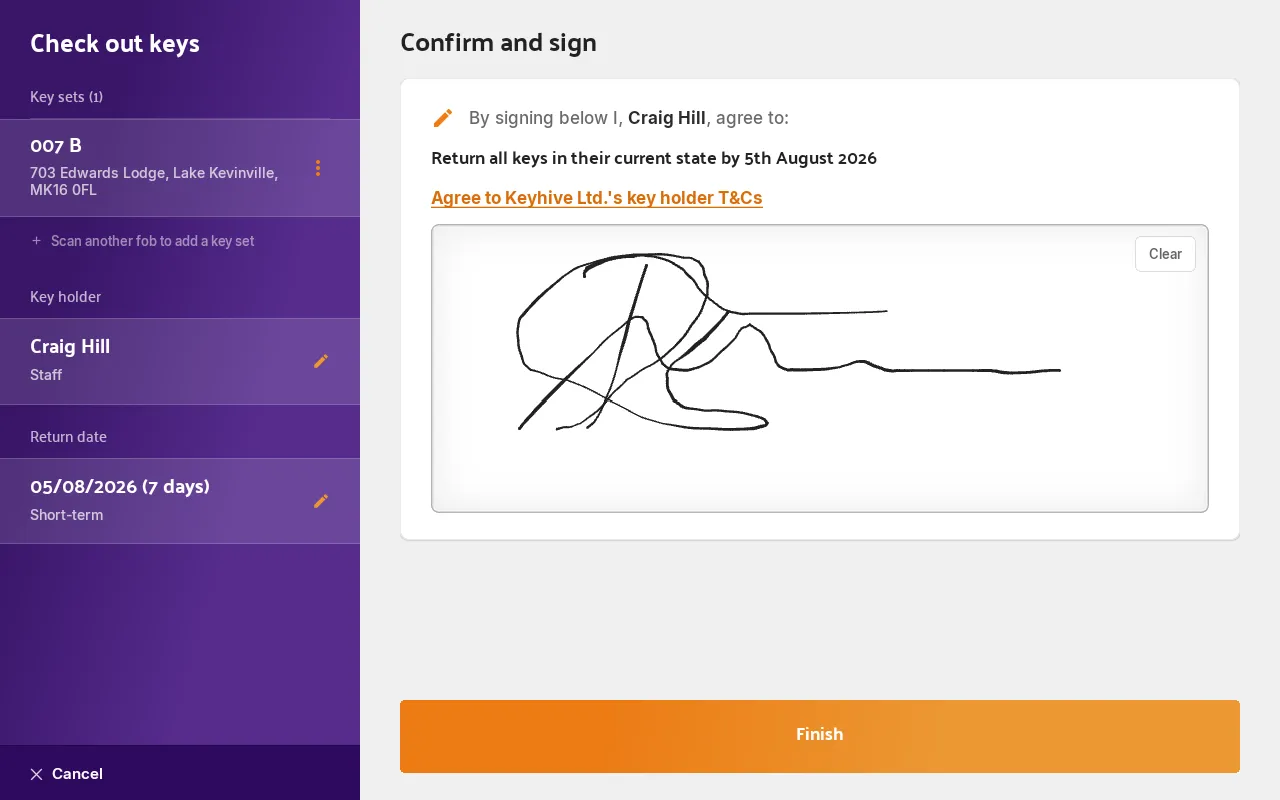
Confirm and sign. The recipient signs on screen to agree to return the keys by the due date and to accept the key holder terms. Tap Finish to complete the checkout, and the keys are now recorded as out with them.
On the mobile app
Use the mobile app to check keys out when you’re away from the Hive.
-
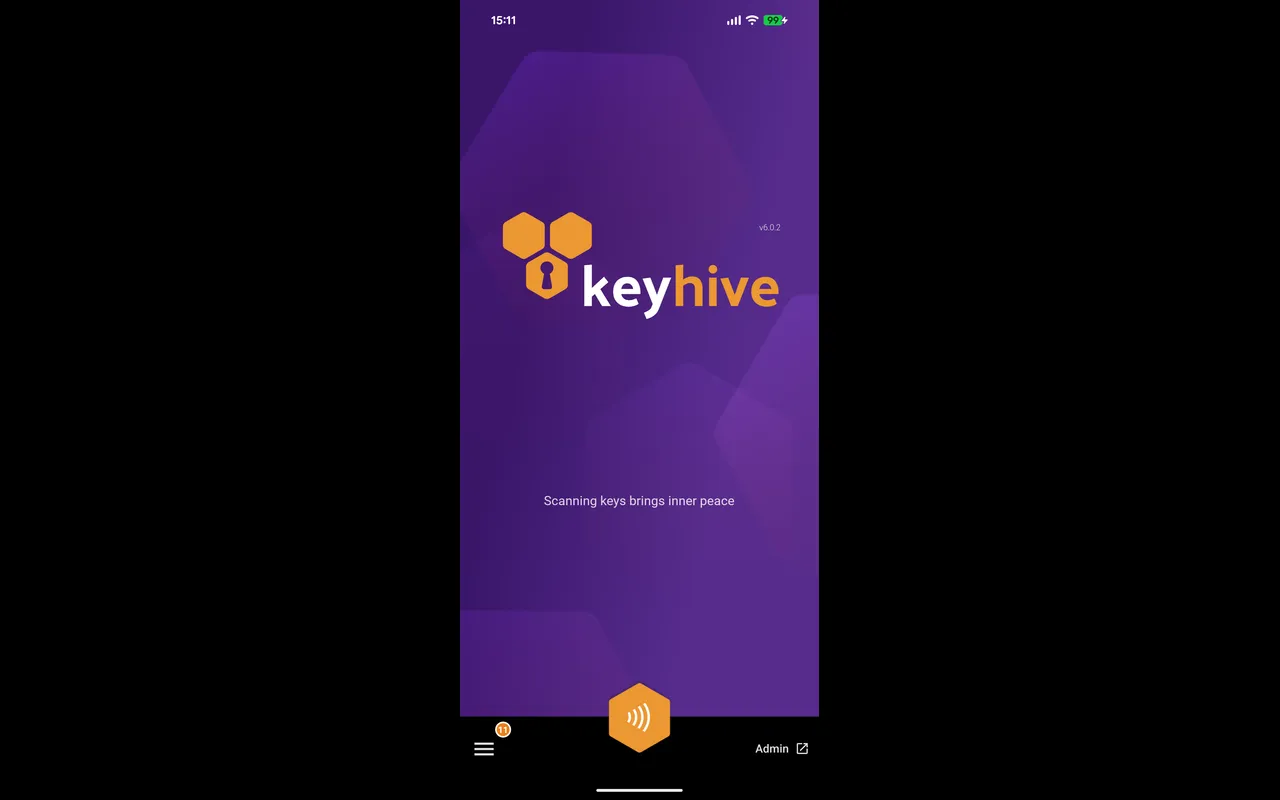
Scan the fob. From the home screen, tap the orange scan button at the bottom and hold the phone to the key set’s fob.
-
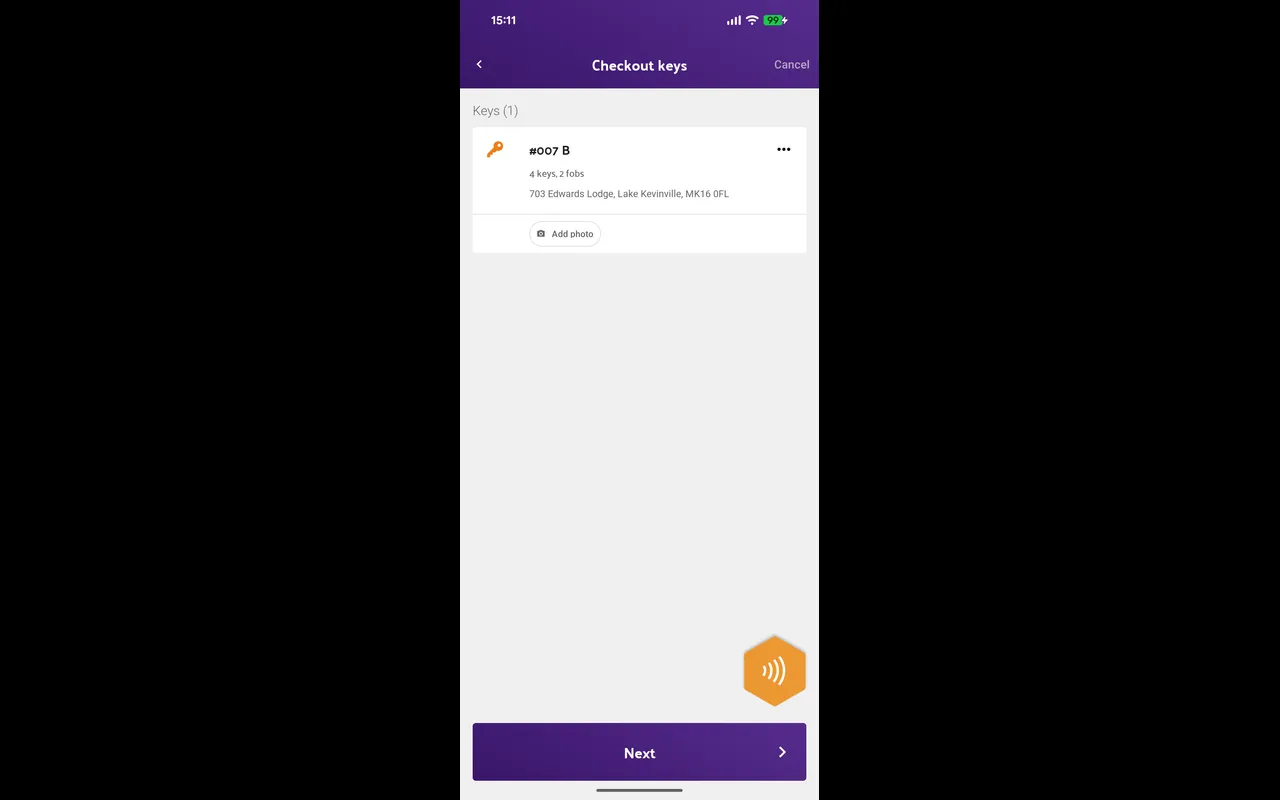
Check the basket. The Checkout keys basket lists every key set you’ve scanned, so you can confirm you’ve got the right ones. You can tap the scan button again to add more, or Add photo to attach a picture of the keys. Tap Next.
-
Choose the recipient. Pick who’s taking the keys from Favourites, Recent or Staff, search for someone, or add a new contact.
-
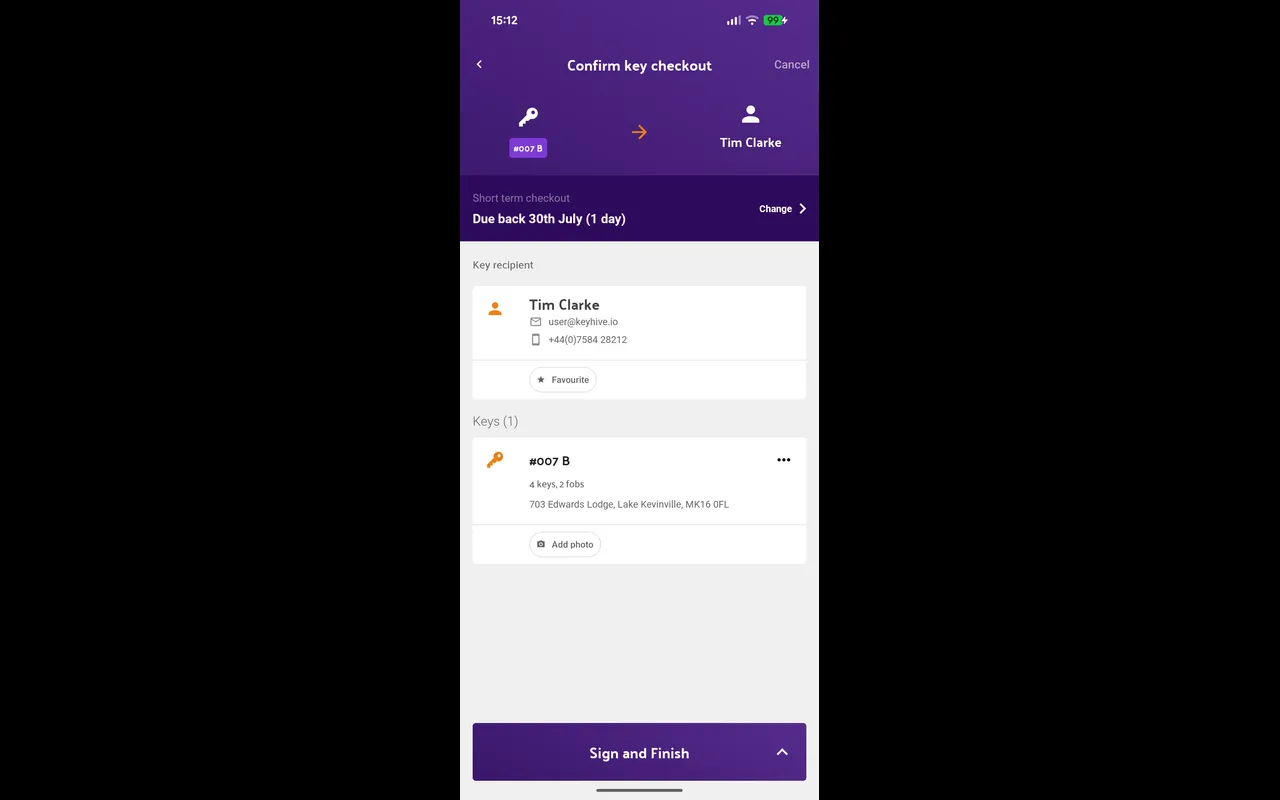
Review and confirm. The Confirm key checkout screen shows the recipient, the key sets, and the return date, already set to the default checkout length for that kind of recipient. Tap Change to adjust it (short-term preset or exact date, or long-term). When you’re happy, tap Sign and Finish, the recipient signs on screen, and the checkout is created.
In the web portal
The portal is best when you’re already at a computer, for example checking a key out to someone over the phone.
-
Open the key set. Go to the page for the key set you want to check out.
-
Click Check out key set.
-
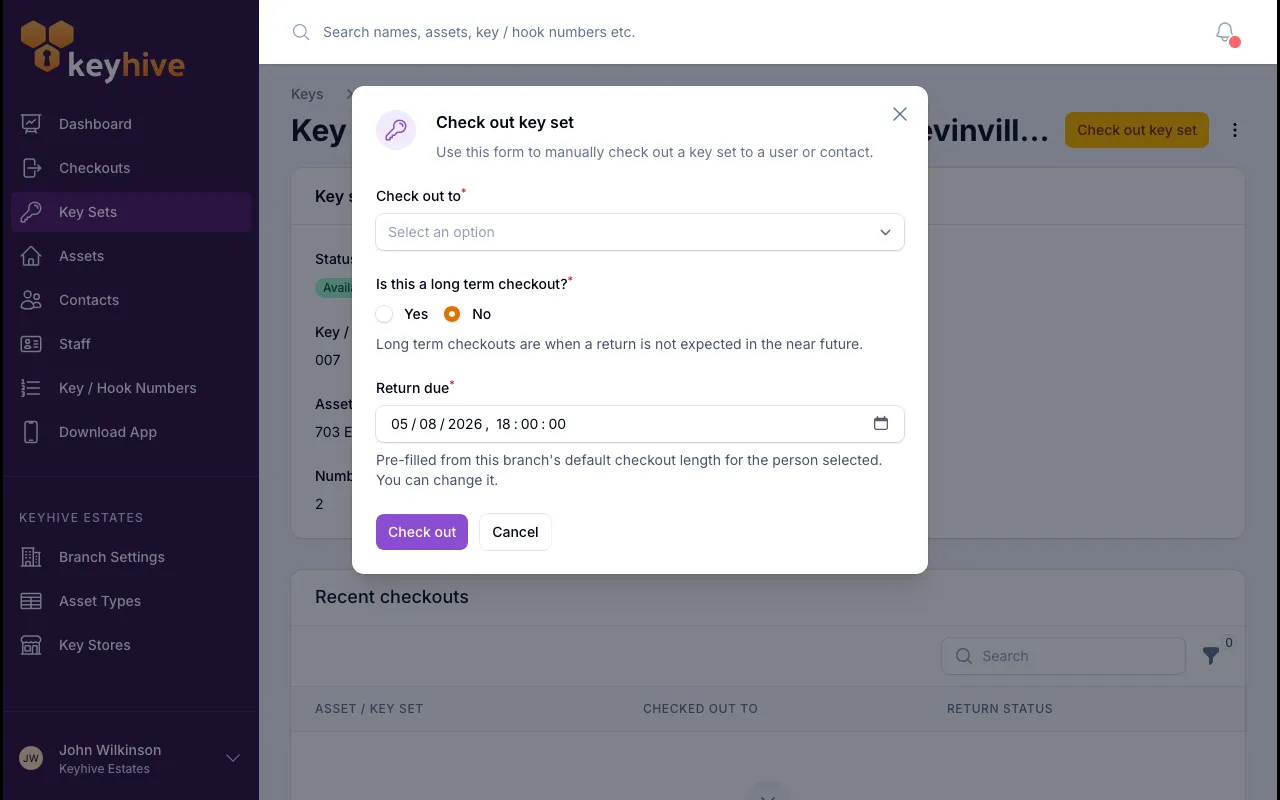
Fill in the checkout. A short form appears:
- Check out to: search for and choose the recipient.
- Is this a long term checkout? Choose Yes for keys with no return date, or No to set one.
- Return due: if it’s not long-term, the return date is already filled in from your default checkout length for whoever you picked. Change it if you need to.
-
Click Check out to record it.
The portal doesn’t ask for a signature or a scan. It’s designed for checking keys out remotely, so use it when the person collecting the keys isn’t stood in front of you.
Good to know
- The return date is a default, not a rule. Whatever your default is, you can always change it during checkout. Managers and admins can change the defaults. See Changing the default checkout lengths.
- Long-term checkouts remove the fob. Because the keys are out for the foreseeable future, the fob is freed for reuse. There’s no fob to scan on the way back, so you return a long-term key set by assigning it a fob again, which records the return at the same time.
- Several keys, one person, one go. Scanning more than one fob checks them all out to the same recipient together. See How to check out multiple keys.
- Attach a photo if it helps. On the Hive and mobile app you can add a photo to a key set as it goes out, useful for recording its condition or exactly which keys were handed over. See How to add a photo of a key set.
- Not sure short-term or long-term? See Short-term vs long-term checkouts.