

How to view a key set's photos
In short: Open the key set’s page in the web portal. If anyone has ever photographed it, a Key set gallery panel shows every photo taken of it, each labelled with who took it and when. Click a photo to see it full size.
When you’d do this: When you need to see what a set of keys looked like at a particular moment, such as how many keys were on the ring when it went out, what the label said, or what condition it came back in. It’s the record you reach for when someone says the keys aren’t the ones they were given.
Before you start
This is a web portal job. The Hive and the mobile app take photos but don’t let you browse older ones. You only see the photo you’ve just taken, while you’re still in that job. See How to add a photo of a key set.
No panel means no photos. The gallery only appears once a key set has at least one, so a set nobody has photographed shows nothing at all.
Find the gallery
- Open the key set. Type the set’s name into the search bar at the top of any page and click it in the results, or click Key Sets in the sidebar and pick it from the list. You can also reach it from its asset’s page, in the Key Sets panel. See How to view and edit an asset.
- Scroll to Key set gallery, below the key set’s details and above its recent checkouts.
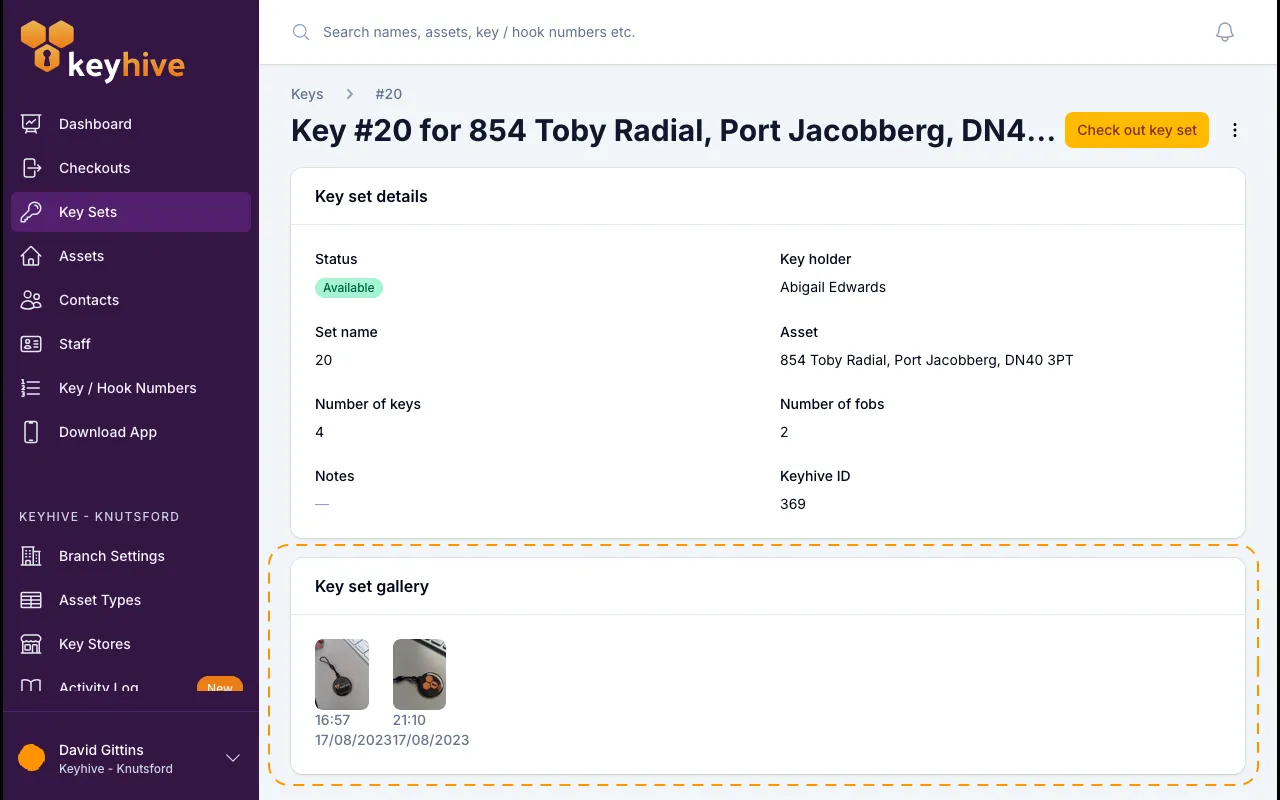
Every photo ever taken of this key set is here, oldest first, with the most recent at the end. Under each one:
- Taken by: the staff member who took it. Photos taken at the Hive are credited to whoever was signed in on it.
- The date and time it was taken.
Click any photo to open it full size, filling the screen so you can see the detail. Click anywhere outside it, or press Esc, to close it again.
Photos on a checkout
A photo taken during a checkout or a return also appears on that checkout’s own page, so you can see the keys next to the record of who took them:
- Checkout photo: in the Checkout details panel, showing the keys as they went out.
- Return photo: in the Return details panel, showing them as they came back.
To get to a checkout, open it from the Recent checkouts list at the bottom of the key set’s page. Photos taken during a transfer or when a fob was assigned aren’t tied to a checkout, so they appear in the gallery only.
Good to know
- The gallery is the full history. Photos are kept, so a set that’s photographed on every job builds up a run of shots you can compare. Nothing you do to a key set removes them.
- A photo can’t be deleted from the portal, and there’s no way to add one there either. The portal shows photos; the apps take them.
- A missing photo isn’t a fault. Photos are optional on most jobs, so a gap in the history just means nobody took one. The exception is a long-term checkout, which asks for one by default.
- Leave the page open a long time and the images may stop loading. Refresh the page and they come back.
- The gallery is per key set. If several sets went out together, each one has its own photos on its own page.